Are you eager to power your RV adventures without relying on noisy generators or campground hookups? Choosing the right RV solar panel kits can turn your rig into a self-sufficient home on wheels. From boondocking in remote deserts to extended stays in national parks, a well-designed solar setup provides clean, silent energy for lights, appliances, and device charging.
In this comprehensive guide, we’ll explore why solar is ideal for RVs, the key components of a complete solar kit, how to size your system, best practices for installation, maintenance tips, cost considerations, and more. By the end, you’ll know exactly how to harness the sun for your next road trip.

Why RV Solar Panel Kits Makes Sense
Solar power addresses many challenges faced by RVers who love to explore off-grid:
- Freedom from Shore Power
Campground electrical hookups often come with fees and unreliable voltage.Solar Panels Teas Passage
continuously generate power during daylight, letting you stay anywhere the sun shines—no reservations or fees required.
- Reduced Generator Dependenc
Generators are loud, consume fuel, and require maintenance. A solar array eliminates generator noise and fumes, letting you enjoy peace and quiet.
- Clean and Renewable Energy
Solar is emission-free and reduces your carbon footprint. You’ll haul fewer propane tanks and burn less diesel or gasoline.
- Battery Longevity
Consistent solar charging maintains your battery bank at proper voltages, preventing deep discharge and extending battery life.
Harnessing solar energy transforms your RV into an actual self-contained unit, offering flexibility and sustainability on the road.
Types of RV Solar Panel Kits
RV solar kits vary by portability, power, and complexity. Choose based on your travel style, roof space, and electrical needs.
A reliable solar panel kits solution includes the panels and the essential hardware. Below are popular kit types
Portable Foldable Kits
- Features: Lightweight, foldable panels with built-in stands and charge controllers.
- Use Case: Ideal for renters, travel trailers, or weekend campers who don’t want permanent roof mounts.
- Pros: Easy setup, can angle panels for optimal sun.
- Cons: Requires daily setup and takedown, occupies floor or bumper space.
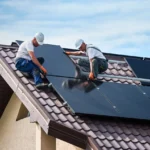
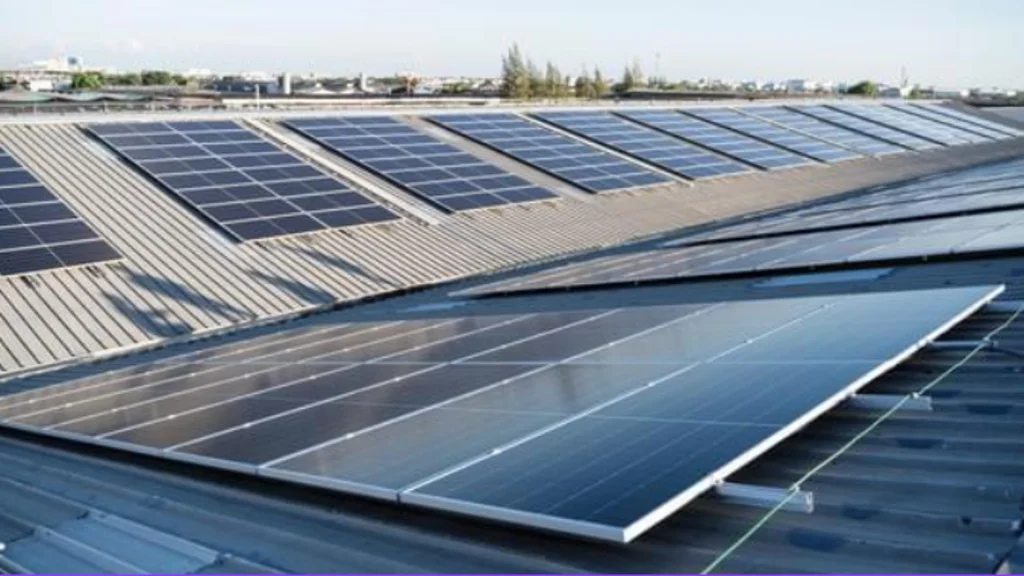
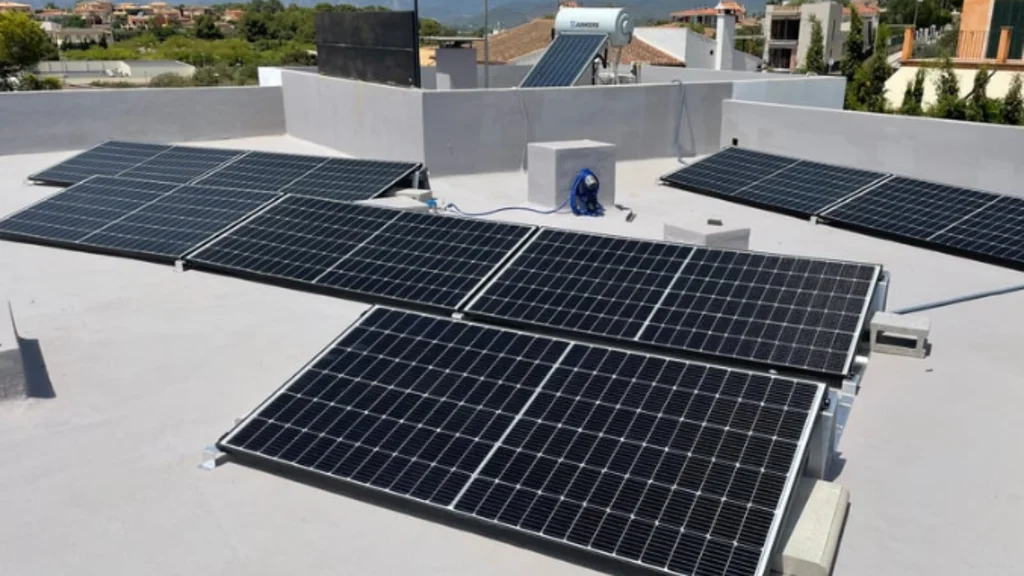
Roof-Mounted Fixed Kits
- Features: Rigid monocrystalline or polycrystalline panels bolted to the RV roof, with pre-wired MC4 connectors and an MPPT controller.
- Use Case: Full-time RVers or those seeking a permanent off-grid solution.
- Pros: Always collecting power when parked, no daily setup.
- Cons: Involves drilling and sealant, potential wind resistance at highway speeds.
Plug-and-Play “Bundle” Kits
- Features: Panels, MPPT or PWM controller, wiring harness, fuses, and connectors in one package.
- Use Case: Beginners wanting a straightforward, pre-configured system.
- Pros: Simplified shopping and installation.
- Cons: Less flexibility to swap components or expand capacity.
Expandable Modular Kits
- Features: Start with a small panel array and add more panels and batteries over time.
- Use Case: Travel couples on a budget who plan to upgrade later.
- Pros: Scalable, initial cost kept low.
- Cons: Requires matching connectors and careful system planning.
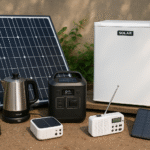
Key Components of a Complete RV Solar Kit
A robust RV solar panel kits setup goes beyond just panels. Each component plays a critical role:
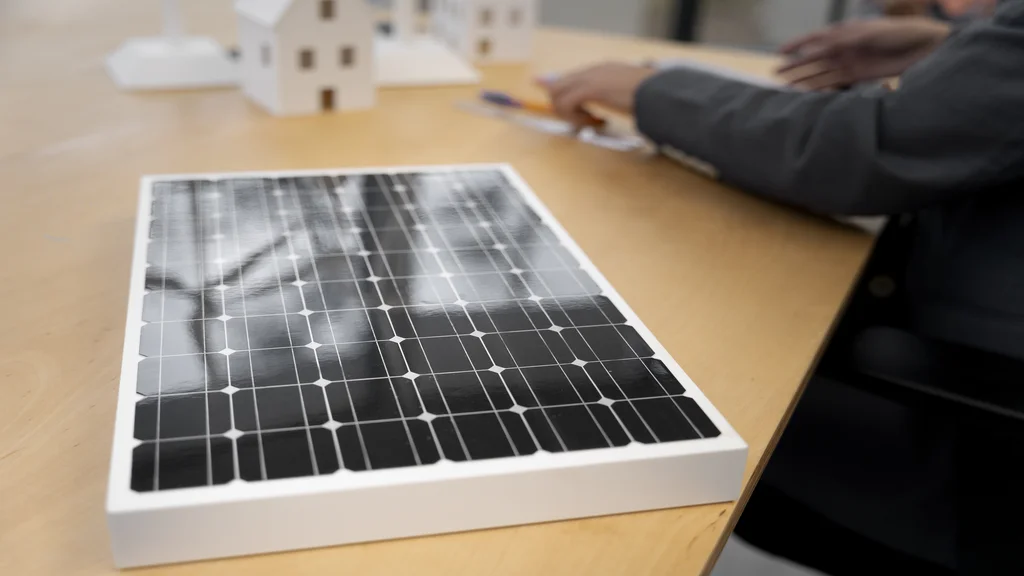
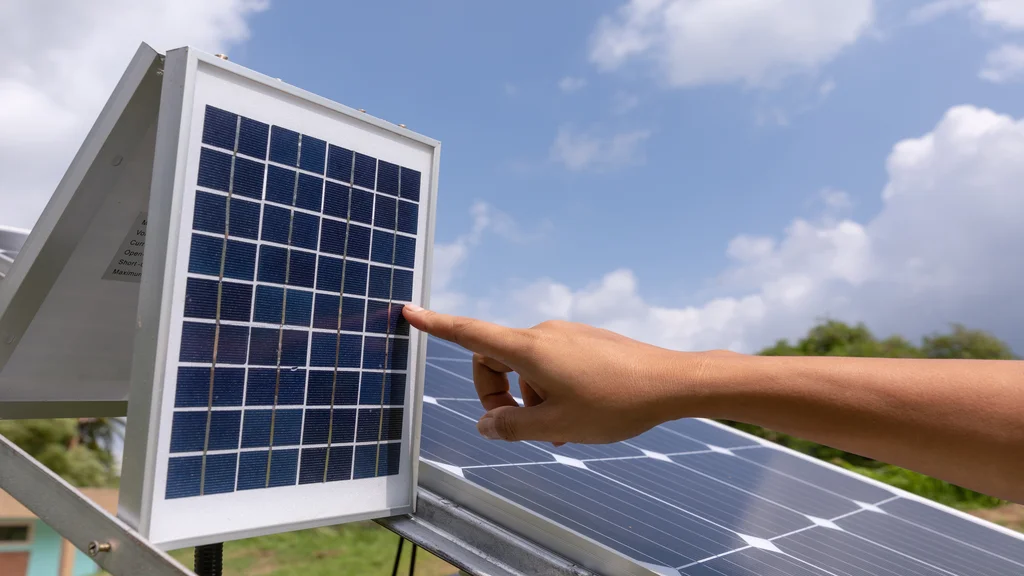
- Solar Panels:
Monocrystalline panels offer higher efficiency (18–22%) in limited roof space. Polycrystalline panels cost less but require more area. Check panel wattage—common sizes range from 100W to 400W each.
- Charge Controller:
MPPT (Maximum Power Point Tracking): Extracts 95%+ of available power, especially under variable conditions or when panel voltage exceeds battery voltage.
PWM (Pulse-Width Modulation): Simpler and cheaper, but less efficient when array voltage and battery voltage differ significantly.
- Battery Bank:
Deep-cycle AGM, gel, or lithium-iron phosphate (LiFePO₄) batteries store energy. Lithium batteries allow deeper discharge (up to 80–90%) and recharge faster, but cost more.
- Inverter:
Converts 12V or 24V DC battery power into 120V AC for appliances like microwaves or TVs. Pure sine wave inverters protect sensitive electronics.
- Wiring and Connectors:
UV-resistant PV cable, MC4 connectors, appropriate wire gauge (10 AWG or 8 AWG for high currents), inline fuses, and breakers ensure safe connections between panels, controller, batteries, and inverter.
- Mounting Hardware:
Low-profile L-brackets or specialized solar rails, sealants, and roof flashing kits secure panels to flat or curved RV roofs without leaks.
- Monitoring System (Optional):
Bluetooth or Wi-Fi modules display real-time power generation and battery status on smartphones or displays.
Understanding each part helps you select and configure a system that meets your energy goals and safety standards.
Sizing Your RV Solar System
Proper sizing balances energy production with consumption, avoiding over- or undersized arrays.
1. Calculate Your Daily Energy Needs
List all electrical loads you plan to run off-grid, with estimated daily usage (watt-hours per day):
| Appliance | Power (W) | Usage (hrs/day) | Daily Wh |
|---|---|---|---|
| LED lighting | 40 | 5 | 200 |
| 12V Refrigerator | 60 | 12 | 720 |
| Water pump | 50 | 0.5 | 25 |
| Laptop charger | 45 | 2 | 90 |
| Phone charges | 10 | 3 | 30 |
| Total | 1,065 |
Adjust based on real-world usage and optional loads (fans, TVs, microwaves).
2. Estimate Solar Production
Divide daily watt-hour need by average peak sun hours in your region (e.g., 4–6 hours/day):
Required panel wattage = 1,065 Wh ÷ 5 h ≈ 213 W
Oversize by 20% for inefficiencies (derate factor 0.8):
Oversized panel wattage = 213 W ÷ 0.8 ≈ 266 W
A single 300W panel might suffice. For redundancy and future expansion, consider two 200W panels (400W total).
3. Choose Battery Capacity
Aim for 2–3 days autonmy (no sun days). For 1,065 Wh/day:
2-day storage = 2,130 Wh
At 50% max discharge for AGM batteries:
Required capacity = 2,130 Wh ÷ 0.5 ≈ 4,260 Wh
Divide by 12V:
Battery bank size ≈ 355 Ah at 12V
Two 200Ah batteries (400 Ah) meet this. For lithium (80% usable):
2,130 ÷ 0.8 ÷ 12 ≈ 223 A
A single 300Ah lithium battery works.
4. Select Controller Size
Ensure your MPPT can handle panel current:
If two 200W panels at Vmp 18V:
Total current = 2 × (200 W ÷ 18 V) ≈ 22.2 A
Choose a 30A MPPT controller.
5. Allow for Future Growth
If you plan to add panels or accessories, size the controller and inverter slightly above current needs.
Installation Considerations Of RV Solar Panel Kits
Proper installation maximizes efficiency and safety while preventing roof leaks.
Roof Preparation
- Clean Surface: Remove debris and inspect for damage.
- Reinforcement: Strengthen weak spots under mounting points.
- Sealant: Use butyl tape or polyurethane sealant under brackets to prevent water intrusion.
Wiring Pathways
- Shortest Routes: Minimize voltage drop—keep DC runs under 10 meters or use thicker wire.
- Protection: Run cables through UV-resistant conduit and secure with cable clamps.
- Fuse Placement: Install fuses or circuit breakers within 30 cm of battery positive terminals.
Safety Measures
- Battery Isolation: Disconnect batteries before wiring.
- Roof Access: Use stable ladders, fall-protection harnesses, and RV stabilizers.
- Electrical Codes: Follow NEC, ABYC, or local RV electrical codes. Hire a certified electrician if unsure.
Controller and Inverter Placement
- Ventilation: Mount in a shaded, ventilated compartment to prevent overheating.
- Proximity: Place controllers close to the battery bank to reduce wiring complexity.
Correct installation ensures peak performance, system longevity, and peace of mind on the road.
Maintenance and Troubleshooting
Regular upkeep keeps your RV solar panel kits for home running efficiently for years.
Panel Cleaning
- Frequency: Quarterly or after dusty conditions.
- Method: Soft brush or microfiber cloth with mild soap and water. Avoid high-pressure washers.
- Result: Restores 90–95% of lost output due to dirt accumulation.
Battery Care
- Voltage Monitoring: Use a battery monitor to check state of charge and health.
- Water Tops (Flooded): Add distilled water when levels drop.
- Equalization: Perform equalization charges monthly for flooded batteries to balance cells.
Controller Logs
- Data Review: Access charging data to spot irregularities—low charging rates may indicate shading or panel damage.
- Error Codes: Address warnings promptly—overcurrent, overvoltage, or temperature faults.
Connection Check
- Terminals: Tighten battery and controller connections annually.
- Corrosion: Clean any white or green buildup with a baking soda solution.
- Fuse Inspection: Verify fuses haven’t blown and breakers trip correctly.
Troubleshooting Common Issues
- Low Output: Check for shade, panel orientation, and cleanliness.
- No Charging: Ensure correct panel polarity, functional controller, and intact fuses.
- Battery Not Holding Charge: Test battery capacity with a load tester; replace if below 50% rated capacity.
Timely maintenance prevents downtime and keeps your off-grid power reliable.
Cost Considerations and Budgeting
Investing in RV solar panel kits requires balancing performance, quality, and cost.
Entry-Level Kits
- 200W Portable Kit (with PWM controller): $300–$500. Suitable for light electronics and LED lighting.
- Pros: Low upfront cost, easy to set up.
- Cons: Limited power, manual deployment.
Mid-Rane Kits
- 400–600W Fixed Kit (with MPPT controller): $700–$1,500. Powers refrigeration, fans, charging stations.
- Pros: Automatic rooftop charging, efficient controllers.
- Cons: Requires roof mounting and professional wiring.
High-End Kits
- 800–1,200W Kit (with lithium battery and inverter): $2,000–$4,000+. Full power for microwaves, air conditioners (small), and multiple devices.
- Pros: Large battery bank, pure sine wave inverter, advanced monitoring.
- Cons: Higher initial expense, heavier batteries.
Additional Costs
- Installation Labor: $500–$1,500 for professional mounting and wiring.
- Roof Enhancements: $100–$300 for roof reinforcement, sealants, or conduit.
- Monitoring Upgrades: $100–$300 for Bluetooth/Wi-Fi modules and displays.
To maximize ROI, calculate payback by comparing campsite hookup fees and generator fuel costs saved over time.
DIY vs Professional Installation
Deciding between DIY and professional installation depends on your skills, tools, and budget.
DIY Advantages
- Lower installation cost
- Flexible scheduling
- Hands-on learning experience
DIY Challenges
- Risk of roof leaks and electrical errors
- No professional warranty on workmanship
- Time commitment and steep learning curve
Professional Pros
- Guaranteed weatherproof sealing
- Code-compliant electrical work
- Faster, turnkey solution.
Professional Cons
- Higher upfront cost
- Dependence on contractor schedule
A hybrid approach—DIY mounting of panels and professional electrician for wiring—often balances cost savings with safety.
Seasonal and Environmental Factors
Solar performance varies with weather and location. Factor these into your system design:
- Latitude and Sun Path: RV Solar Panel Kits tilted 20–30° on an RV roof capture more sun at mid-latitudes. Fixed tilt angle works, but adjustable portable panels yield better winter gains.
- Shade Avoidance: Position panels away from roof vents, air conditioners, and satellite dishes. Even small shade patches can drop output by 20–40%.
- Climate Impact: Hot climates reduce panel efficiency by 0.3–0.5% per °C above 25°C. Ensure airflow under panels to mitigate heat buildup.
- Snow and Ice: If traveling in snow regions, install panels at an angle that sheds snow, or use roof-mounted heating cables to clear arrays.
Understanding local conditions ensures your RV solar panel kits deliver reliable power year-round.
Enhancing Sustainability and Efficiency
Beyond the basics, consider upgrades that boost system sustainability:
- Solar Trackers: Portable single-axis trackers increase yield by up to 25% by following the sun.
- Energy Monitoring: Data logging systems provide real-time insights into production and consumption for smarter energy management.
- Load Management: Upgrade to 12V DC LED lights and efficient appliances to reduce energy demand.
- Hybrid Inverter/Charger: Systems that combine inverter and battery charger functions streamline the setup and reduce panel count.
These enhancements maximize power harvest and minimize environmental impact.
Ready to Hit the Road on Solar Power?
Equip your RV with the perfect RV solar panel kits system, tailored to your power needs and travel style. Contact a solar specialist today for a customized design, free consultation, and expert installation—start adventuring further, longer, and cleaner!
Frequently Asked Questions
- Can I run my RV air conditioner on solar power?
Most rooftop air conditioners require 1,200–1,500W continuous power plus surge capacity. A very large inverter and battery bank (3–5kW) with extensive solar panels (1,000W+) are needed, making it impractical for most RVs.
- How do I clean RV solar panels?
Use a soft brush or microfiber cloth with mild, biodegradable soap and water. Clean quarterly or after dusty road trips. Avoid abrasive pads or high-pressure washers.
- Do portable kits charge while driving?
No. Panels need stationary, angled sunlight. Driving panels flat on the roof generate some power but at reduced efficiency and may risk overheating the charge controller.
- Are flexible panels better than rigid?
Flexible panels conform to curved roofs and weigh less but have lower efficiency and shorter lifespans. Rigid panels outperform in durability and energy output.
- What maintenance does an RV solar system require?
Quarterly panel cleaning, annual connection inspections, battery health checks, and controller log reviews. Promptly address any corrosion, loose mounts, or error codes.