
A solar battery chargers 12 volt system uses sunlight to keep 12V batteries topped off without relying on generators or grid power. These chargers are popular among RV enthusiasts, boat owners, off-grid cabin users, and vehicle owners who want engine-free charging. By harvesting solar energy, you can maintain battery health, extend battery life, and reduce fuel or electricity costs.
This guide will cover how these chargers work, the different types available, selection criteria, best practices for installation, maintenance tips, and real-world applications.
Why Choose Solar Battery Chargers 12 Volt
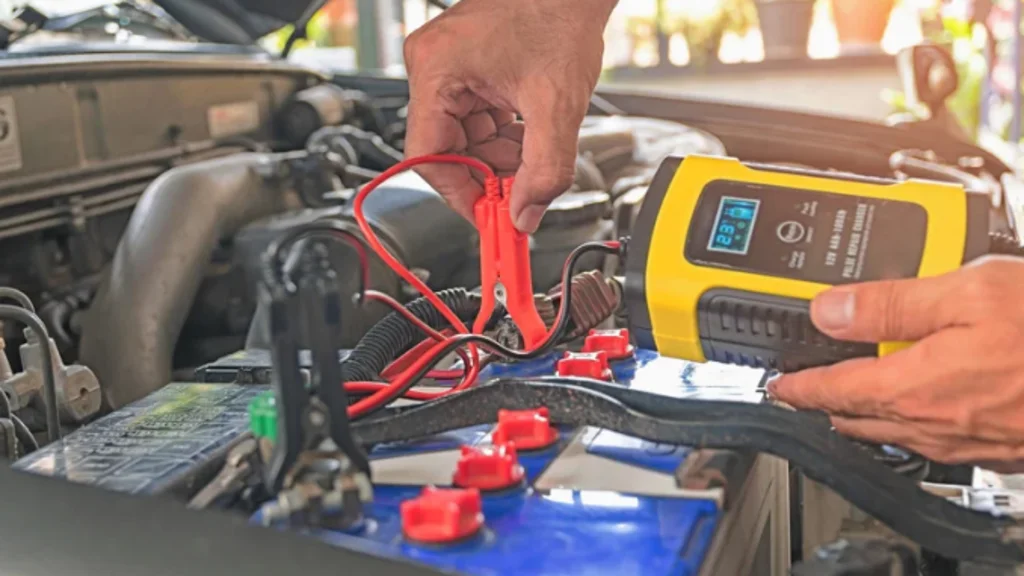
Traditional battery charging methods, such as alternators and grid chargers, have limitations. Alternators require engine run-time, consuming fuel and generating noise and emissions. Grid chargers need access to shore power or a generator. A solar battery chargers unit offers silent, emission-free charging 365 days a year. Moreover, solar battery storage providing a gentle float charge in bright conditions. By keeping batteries at optimal voltage, you reduce maintenance needs and prolong their lifespan.
Several scenarios highlight the advantages of solar charging. In remote cabins, grid power may be unavailable, making solar the most reliable option. On boats at anchor, running the engine nightly for charging is inefficient and can disturb marine life. For vehicles parked for extended periods, such as classic cars, motorcycles, or off-road rigs, a solar trickle charger prevents deep discharge and unexpected failures. These benefits make solar chargers 12 volt a sensible investment for anyone relying on 12V battery banks.

Types of Solar Battery Chargers 12 Volt
Different applications demand different charger designs. Understanding the types available helps you choose the best solution for your needs.
Portable 12V Solar Chargers
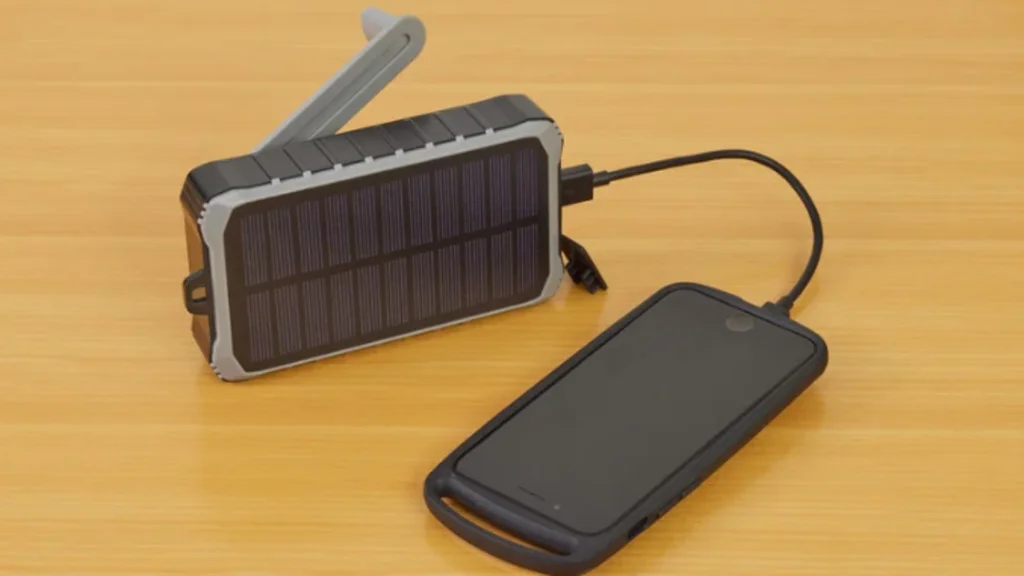
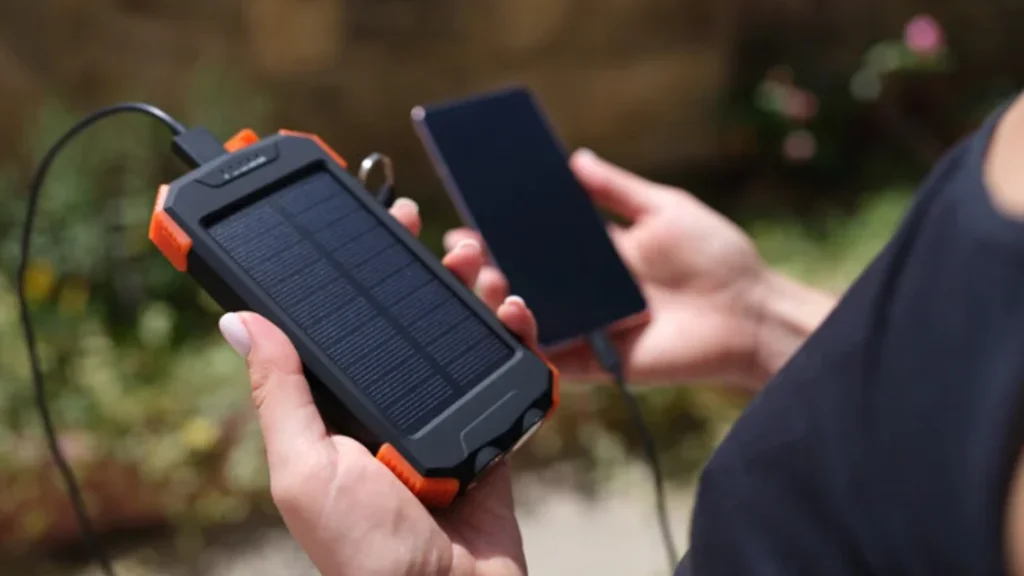
Portable chargers consist of a small solar panel (typically 10W–20W) connected directly to alligator clips or ring terminals. These lightweight units are perfect for RVs, boats, or vehicles that idle infrequently. Simply place the panel in sunlight and attach it to the battery when parked. Users appreciate the plug-and-play simplicity and compact storage of these devices.
Fixed-Mount Solar Charging Kits
Fixed-mount kits include a larger panel (50W–100W), a charge controller, mounting brackets, and wiring. These systems are permanently installed on rooftops, dashboards, or boat decks. They offer faster charge rates for deep-cycle batteries powering off-grid cabins, ham radio equipment, or camping fridges. A properly angled panel ensures year-round performance.
Solar Trickle Chargers
Solar trickle chargers use very low-wattage panels (1W–5W) to maintain battery voltage over long idle periods. Designed for cars, tractors, or lawn mowers that sit unused, they deliver a constant float charge without overcharging. Their compact size allows easy mounting under the hood or near the battery.
Battery Tenders with Built-In Controllers
These integrated units combine a small solar panel and charge controller into a single, weatherproof enclosure. They often feature user-friendly LEDs indicating charging status and float levels. Ideal for marine and automotive use, they require minimal setup—mount the panel near the battery and connect the wires. The built-in controller prevents overcharging.
How to Choose the Right Solar Battery Charger
Selecting an appropriate solar battery chargers 12 volt system requires matching the charger’s capacity to your battery bank and usage. Evaluate your power needs, battery type, and installation environment carefully before making a decision.
Begin by calculating daily battery drain. List all devices you intend to power—lights, pumps, radios—and total their watt-hours per day. For example, running LED lights for four hours at 20W consumes 80Wh. Add other loads similarly. A 12V battery with 100Ah capacity stores 1,200Wh; plan to replenish at least 20–30% daily to avoid deep discharge.
Next, choose between PWM and MPPT charge controllers. PWM (pulse-width modulation) controllers are cost-effective and work well when the panel voltage closely matches the battery voltage. MPPT (maximum power point tracking) controllers are more expensive but can extract up to 30% more energy from the panel in cooler or shaded conditions. If you have a 50W panel and face partial shading or live in a cool climate, MPPT is worth the investment.
Consider build quality and portability. Portable chargers should feature foldable panels, rugged hinges, and durable protective cases. Fixed-mount kits require anodized aluminum frames, tempered glass panels, and corrosion-resistant mounting hardware for use in harsh marine or outdoor environments. Ensure your panel’s junction box is sealed to IP65 or higher.
Finally, confirm the charger’s protections and user features. Your controller should include protection against overcharge, over-discharge, reverse polarity, and short-circuit conditions. Temperature compensation is crucial for accurate float voltages. LED or LCD indicators help monitor charging status and battery voltage at a glance.
Installation Best Practices
Proper installation of your solar battery chargers 12 volt system maximizes efficiency and ensures safety. Follow these guidelines for both portable and permanent setups.
Portable Charger Setup
Select a location with direct sunlight and minimal shade between 9 AM and 3 PM—angle the panel toward the sun, approximately equal to your latitude, for year-round performance. Avoid placing the panel flat, as this reduces midday output. Place the portable charger in a clear area, free from foot traffic, to prevent accidental displacement.
Attach alligator clips or install ring terminals to the battery. Ensure positive and negative connections are correct—positive to positive and negative to negative. Secure the panel using a stable, adjustable stand or bungee cords if needed. Periodically reposition the panel throughout the day to follow the sun’s path, optimizing energy capture.
Fixed-Mount Installation
Select a sturdy mounting surface—such as a roof, pole, or boat deck—with direct exposure to sunlight. Verify the structure can support the panel’s weight and withstand local wind loads. Use mounting brackets and rails that are rated for the snow and wind conditions in your area. For roof installations, select either roof-penetrating or ballasted mounts, depending on the roof type and local building codes.
Run appropriately gauged wiring from the panel to the charge controller. For most 12V systems with currents up to 20 A, use 10 AWG wire; for currents above 20 A, use 8 AWG wire. Protect wiring with UV-resistant conduit where exposed to sunlight. Install the charge controller near the battery,a best solar bettry backup system ideally in a shaded for ventilated compartment. Connect panel’s positive and negative to the controller’s PV input terminals, then the battery’s positive and negative to its battery output terminals. Place an inline fuse between controller and battery on the positive lead to prevent catastrophic failures.
Ensure proper grounding by bonding the panel’s aluminum frame and metal mounting rails to a ground rod or vessel’s bonding system. This prevents electrical shock and reduces the damage caused by lightning. Check local codes for grounding requirements.
Maintenance and Care
A solar battery chargers 12 volt system requires minimal upkeep, but regular checks extend its lifespan and reliability. Follow these maintenance steps to keep your charger performing optimally.
Panel Cleaning
Dust, pollen, bird droppings, and leaves can reduce panel efficiency by up to 10%. Clean panels every three to six months, or more frequently in areas with high dust or pollen levels. Use a soft-bristle brush or a microfiber cloth with mild, biodegradable soap and low-pressure water. Avoid harsh detergents and abrasive materials that could scratch the glass. Rinse thoroughly and allow panels to dry naturally.
Visual Inspection
Quarterly, examine panels for cracks, delamination, or discoloration. Inspect junction boxes for water ingress or loose wires. Check mounting brackets and screws for corrosion or looseness; tighten hardware as needed. On marine installations, rinse components with fresh water to remove salt residue, and apply marine-grade anti-corrosion spray if necessary.
Charge Controller and Battery Checks
Every six months, review the LED or LCD indicators on your charge controller. Confirm it enters bulk, absorption, and float stages correctly. Use a multimeter to measure battery voltage; ensure it matches expected levels for your battery type. For flooded lead-acid batteries, check specific gravity with a hydrometer and top off with distilled water if necessary. Inspect battery terminals for corrosion and apply dielectric grease to prevent future buildup.
Cost Considerations
Budgeting for a solar battery chargers 12 volt system involves evaluating hardware costs and potential savings over time. Price points vary based on panel wattage, controller type, and installation complexity.
| Component | Typical Price Range (USD) |
|---|---|
| 10W–20W Portable Solar Panel | $25 – $60 |
| 50W–100W Fixed-Mount Solar Panel | $70 – $200 |
| PWM Charge Controller (10A–20A) | $15 – $40 |
| MPPT Charge Controller (10A–30A) | $60 – $150 |
| Mounting Brackets and Rails | $20 – $75 |
| Cables, Connectors, Fuses | $20 – $50 |
| Professional Installation Labor | $100 – $300 (portable) |
| $200 – $800 (fixed) |
A small portable kit with a 20W panel and 10A PWM controller may cost under $100. A complete fixed-mount 100W system with an MPPT controller and mounting hardware could approach $400–$500. Over the lifespan of your batteries, solar chargers save on generator fuel, reduce alternator wear, and lower grid electricity costs. This return on investment makes them cost-effective over the long term.
Comparing Solar Charging vs. Alternator and Grid Charging
Alternator-based solar charger requires running the engine, which consumes fuel, emits noise, and pollutes the air. Prolonged idling also accelerates engine wear and reduces fuel efficiency. Grid charging requires access to shore power or a generator, which may be unavailable during grid outages or in remote areas. A solar battery chargers 12 volt system offers a silent, emission-free alternative that maintains a float charge whenever sunlight is available. Solar chargers also allow batteries to remain at their optimal voltage, reducing the risk of overcharging that is common with some alternator-based systems. Ultimately, solar charging provides a hands-off, environmentally friendly solution that preserves battery health and lowers operating costs.
Applications and Real-World Use Cases
The versatility of a solar battery chargers system lends itself to a variety of applications and environments. Below are some everyday use cases demonstrating its value.
Recreational Vehicles and Camper Vans
RVers often rely on battery power for interior lights, refrigeration, and small appliances. A portable 50W solar charger placed on top of the RV keeps the 12V house battery charged during daytime parking, eliminating the need to run the engine or a generator. On multi-day camping trips, this ensures continuous power for lights and electronics without noise or emissions.
Marine and Boating Applications
Boaters depend on reliable 12V charging for navigation lights, bilge pumps, and communication radios. A fixed-mount 50W–100W panel installed on the cabin roof, paired with an MPPT controller, provides continuous float charging at anchor. This setup prevents battery drain and extends the life of marine deep-cycle batteries without the need to start the engine or use a dockside charger.
Off-Grid Cabins and Remote Installations
In remote cabins without access to grid power, a 100W fixed-mount panel maintains a battery bank used for lighting, water pumps, and communication gear. Appropriately sized, this system can supply daily usage needs and keep the battery topped off during extended cloudy periods, providing reliability in off-grid living situations.
Emergency and Backup Power
Homeowners who use 12V backup batteries for essential loads—such as emergency lighting, medical devices, or sump pumps—benefit from solar maintenance chargers. Even a 10W trickle charger can maintain a 12V battery bank during prolonged power outages, ensuring critical systems remain operational.
Agriculture and Livestock
Farmers often need to power electric fences, water pumps, or remote sensors. A 50W–100W solar charger mounted on a fence post or barn keeps 12V batteries charged year-round. This prevents livestock escapes, ensures a stable water supply for animals, and provides reliable operation of remote monitoring systems without requiring frequent battery replacements.
Troubleshooting Common Issues
Even well-designed solar battery chargers 12 volt systems can encounter problems. Identifying and resolving issues quickly preserves battery health and system efficiency.
Battery Not Charging
- Panel Shading:Any shade on the panel can drastically reduce output. Reposition the panel or trim branches that cast shadows.
- Clean Dirty Panels: Use mild soap and water to gently remove dust, pollen, and debris from the panels.
- Incorrect Controller Settings: Verify that the charge controller is configured for your battery type (flooded, AGM, gel, or lithium) and voltage.
Controller Error Codes
- Overvoltage/Undervoltage: Check panel voltage. Cold temperatures can raise open-circuit voltage (Voc), exceeding controller limits.
- Reverse Polarity: Ensure positive and negative leads are correctly connected to the controller and battery.
- Overload: If you connect too many loads directly to the controller’s battery output, reduce the load or use a separate distribution panel.
Wiring and Connection Failures
- Corroded Terminals: Clean terminals with a baking soda solution; apply dielectric grease to prevent future corrosion.
- Loose Connectors: Inspect and tighten all MC4 connectors, fuse holders, and terminal screws.
- Damaged Cables: Replace any cables showing cracks or worn insulation to prevent short circuits and performance degradation.
Frequently Asked Questions
- How much solar panel wattage do I need for a 12V battery?
For trickle maintenance, 10W–20W panels suffice. To support daily usage—lighting, small electronics—opt for 50W–100W panels. Always oversized by 25% to account for inefficiencies and cloudy days.
- Can I leave a solar charger connected to my battery indefinitely?
Yes. Charge controllers automatically switch to float mode once the battery reaches full voltage, preventing overcharging. However, occasionally check the system to ensure proper operation and battery health.
- Which is better: PWM or MPPT charge controllers?
PWM controllers are budget-friendly and work when panel and battery voltages are closely matched. MPPT controllers extract more power—up to 30% more—under partial shading, cooler temperatures, or when panel voltage significantly exceeds battery voltage.
- What battery types are compatible with solar chargers?
Most controllers support flooded lead-acid, AGM, gel, and lithium batteries. Ensure your controller supports temperature-compensated charging and has profiles tailored to your battery type.
- How do I prevent battery sulfation?
Use a multi-stage charger with bulk, absorption, and float phases. A solar battery chargers 12 volt system maintains a float charge when idle, preventing undercharging and sulfation. Setting the correct float voltages for your battery type is essential.
Ready to keep your 12V batteries at peak performance with a solar battery chargers system?
Contact our experts today for tailored recommendations, high-quality charging kits, and professional installation services. Harness the sun’s power to ensure reliable, maintenance-free battery charging—reach out now!