Imagine you’ve invested in a top-tier solar system featuring high-efficiency panels, an innovative inverter, and a sleek battery backup. But a few months in, your production numbers seem off. What if the problem isn’t your panels, but how they’re mounted?
Solar panel mounting brackets are the unsung heroes of a successful solar setup. Whether you’re a homeowner trying to reduce your energy bill or a small business aiming for energy independence, your system’s foundation begins literally with the correct brackets.
In this post, we’ll break down what solar mounting brackets are, why they matter more than most people think, how to choose the right ones, and what installation mistakes to avoid.
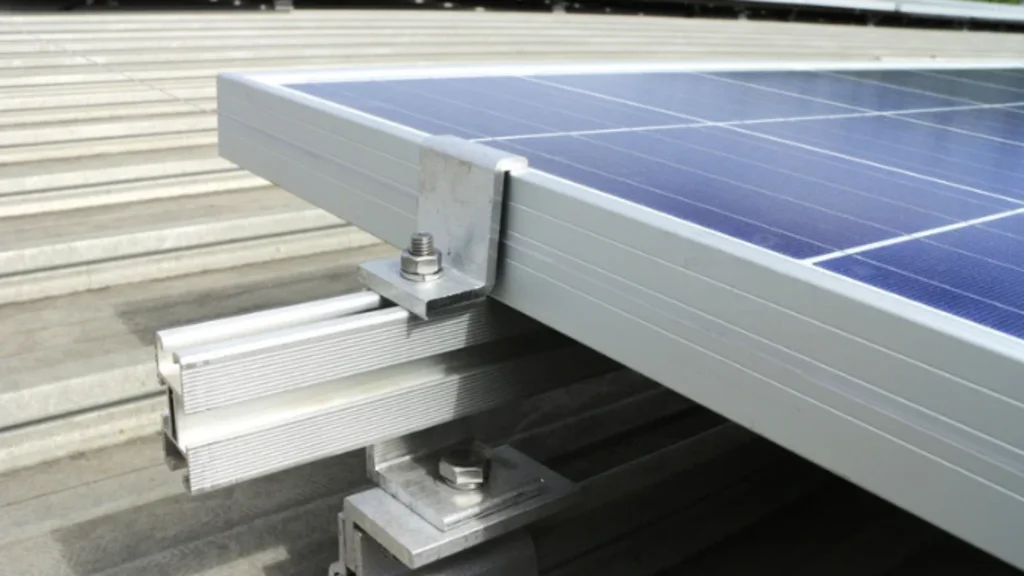
What Are Solar Panel Mounting Brackets?
Solar mounting brackets are the structural components that secure your solar panels to your roof, ground, or other surfaces. They’re designed to:
- Hold panels in place under high wind, rain, or snow
- Optimize the panel tilt for maximum sun exposure
- Prevent structural stress on the roof or ground
- Allow airflow underneath the panels to reduce overheating
Without high-quality brackets, even the best panels can underperform or become damaged.
Types of Mounting Brackets:
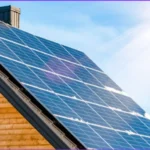
Roof-Mounted Brackets
Most common in residential setups. These include:
- Rail-based systems (for structural support)
- Rail-less systems (lighter and faster to install)
- Tilt legs (to angle flat roof panels)
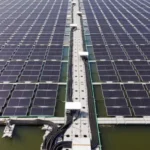
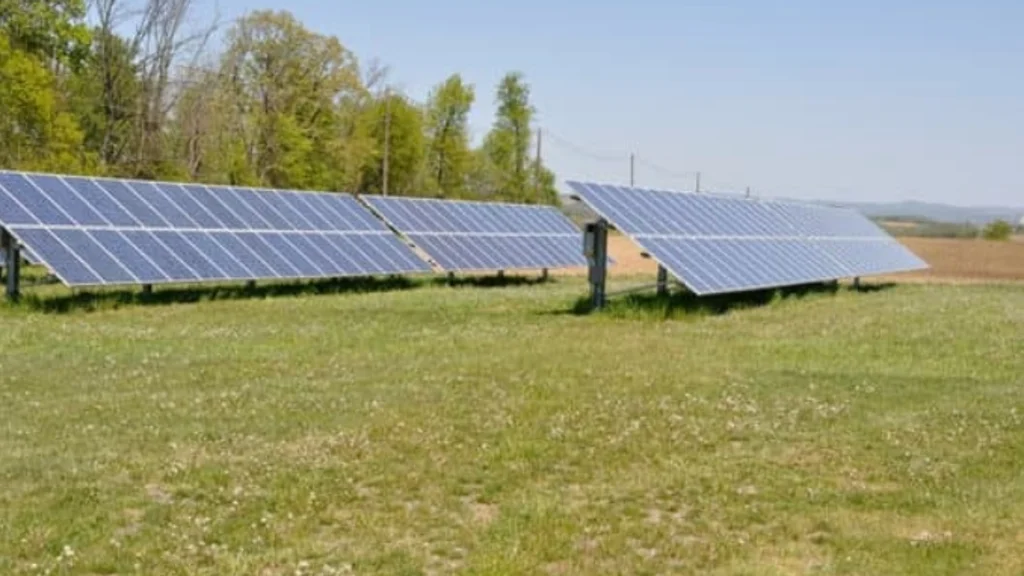
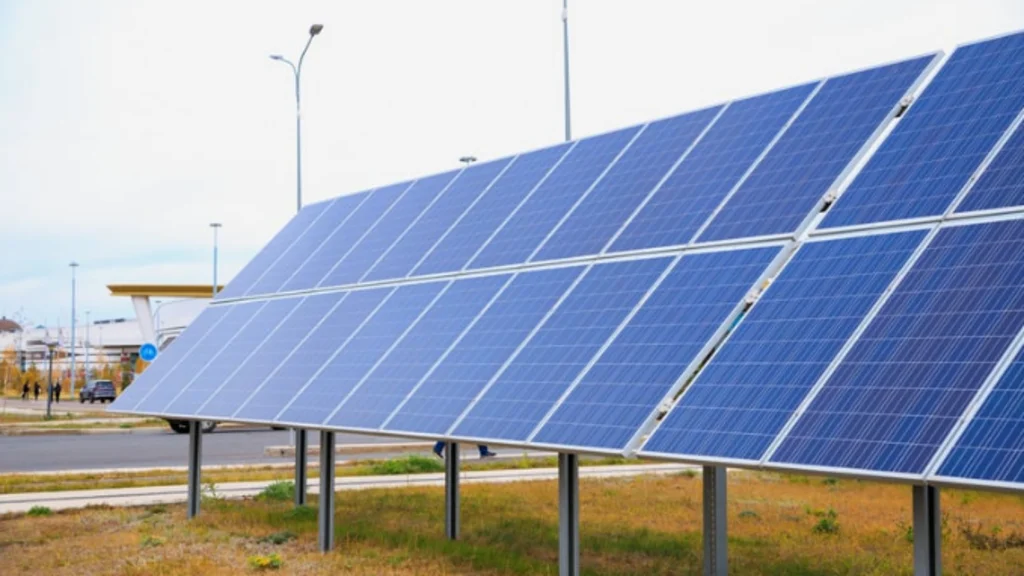
Ground-Mounted Brackets
Used when roof space isn’t ideal. These allow for:
- Precision angling
- Easier cleaning and maintenance
- Expansion options
Pole-Mounted Brackets
Ideal for off-grid systems or smaller setups. Single or dual-axis tracking options can improve solar capture by up to 45% (NREL, 2023).
Adjustable Brackets
Great for portable solar panels or DIY setups. These brackets let users manually adjust the angle seasonally.
Why Mounting Brackets Matter for Long-Term Performance
Your solar panels can lose up to 10–20% of output if they are misaligned, poorly ventilated, or stressed by structural strain—all of which are mounting issues.
Here’s how the right solar panel mounting brackets make a difference:
1. Maximize Sunlight Capture
The angle and orientation matter. Mounting brackets ensure your panels are tilted correctly—usually at an angle equal to your latitude for optimal year-round performance.
2. Improve Durability in Harsh Weather
Quality brackets resist corrosion, hold panels in place during storms, and prevent structural movement. A 2022 case study from Florida showed that homes with aluminum mounting systems fared significantly better during hurricanes than those with rust-prone steel brackets.
3. Support Airflow and Cooling
Overheated panels can lose 0.5% efficiency per °C rise in temperature. Proper mounting brackets allow air to circulate underneath the panels, helping to cool them naturally and maintain optimal performance.
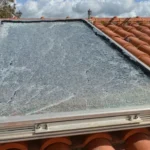
Real-World Example: A Costly Mistake in Rural Arizona
Jason M., a homeowner in Arizona, reported that his initial solar installation’s budget brackets began to corrode within two years. Not only did this void part of his panel warranty, but shifting panels also led to inconsistent energy output, particularly during summer heatwaves.
After switching to anodized aluminum racking with improved thermal expansion handling, Jason experienced more stable production numbers and no maintenance issues over 18 months.
Lesson: The wrong brackets may save you money up front, but cost you energy and repairs later.
How to Choose the Right Solar Panel Mounting Brackets
When selecting a bracket system, consider the following factors:
1. Roof Type
Different brackets work for asphalt shingles, metal roofs, or flat rooftops. For example:
- L-foot brackets work well with pitched roofs.
- Ballasted systems are better for flat roofs to avoid drilling.
2. Material Type
- Aluminum: Lightweight, corrosion-resistant, ideal for humid and coastal regions.
- Stainless Steel: Heavy-duty but more expensive.
- Galvanized Steel: Cheaper but prone to rust in salty environments.
3. Wind and Snow Load
Your area’s wind and snow load rating will determine the strength of the brackets. Always ensure compliance with ASCE 7-16 standards or local code.
4. Adjustability
If you’re in a region with seasonal sunlight variation, adjustable mounting brackets can help you manually tweak panel angles.
Also click here: Advantages of solar energy.
Installation Mistakes to Avoid
Even the best brackets can’t compensate for poor installation. Avoid these common issues:
Undersized Mounting Hardware
If your brackets aren’t rated for your panel size and wind zone, they may shift or fail.
Improper Flashing
Leaky roofs often result from poor flashing during the installation of brackets. Always ensure water-tight sealing.
No Structural Assessment
Solar systems add weight. Always confirm your roof structure can support the load and use the correct lag bolts or anchor points.
Trusted Brands and Certifications
To ensure your solar panel mounting brackets meet safety and performance standards, look for:
- UL 2703 Certification: Ensures structural integrity and grounding compatibility
- ASTM B117 Compliance: Confirms salt-spray and corrosion resistance
Top Recommended Brands:
- IronRidge
- SnapNrack
- Unirac
- Renogy (for DIY kits)
- Schletter
Solar Installers’ Tip: Brackets Aren’t Set-and-Forget
We spoke with Samir P., a certified solar installer in the Midwest, who shared this insight:
“People assume once panels are up, they’re good forever. But even the best brackets need inspection, especially after storms. We recommend a visual check every 6–12 months.”
That small tip could help prevent mounting failures before they become costly.
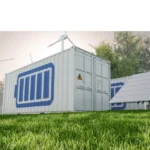
Click here: solar battery storage.
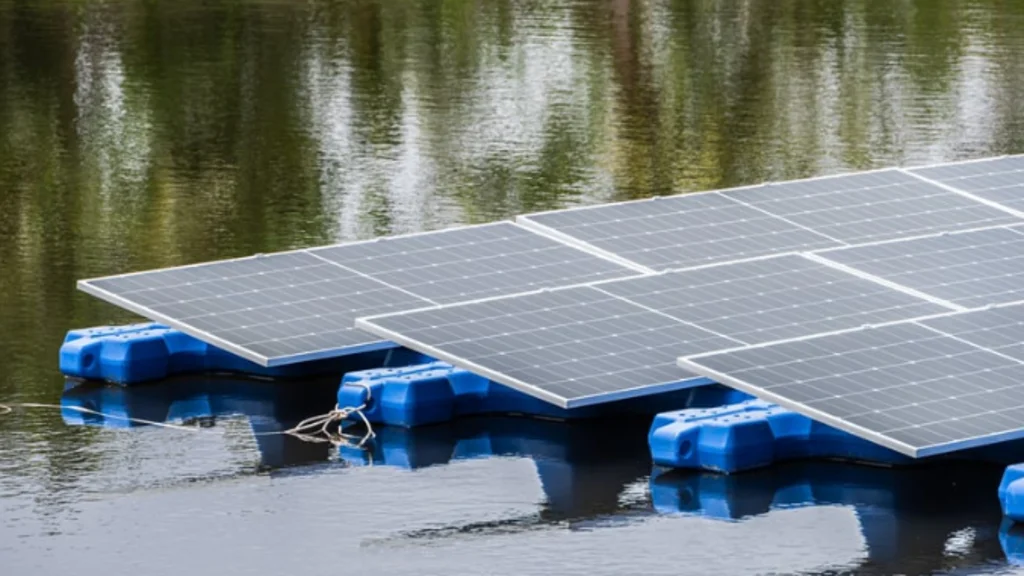
Solar Panel Mounting Brackets in Off-Grid and Portable Systems
If you’re setting up an off-grid cabin, RV solar system, or emergency solar kit, your mounting needs are different. Look for:
- Foldable aluminum brackets for compact storage
- Quick-release tilt legs for fast setup
- Non-penetrating clamps for temporary setups on trailers or vehicles
These may not be permanent fixtures, but choosing reliable, weather-resistant mounting brackets can still significantly impact your off-grid solar performance.
Final Thoughts: Mounting Brackets Are a Small Part With a Big Role
Your solar panel mounting brackets aren’t just metal pieces—they’re critical to your system’s performance, safety, and lifespan. From securing panels during storms to optimizing energy capture year-round, they’re one of the most important decisions you’ll make when designing a solar setup.
If your panels were installed over two years ago or you’ve noticed a dip in performance, schedule a visual inspection today. A loose bracket or corroded rail might be quietly reducing your solar output—and your savings.
Check If Your Brackets Are Still Doing Their Job
Don’t let overlooked mounting equipment reduce your solar ROI. Whether you’re upgrading, going off-grid, or just want peace of mind, take 15 minutes to inspect your system—or schedule a professional checkup. Solar mounting brackets may be small, but getting them right ensures you get the most from every ray of sunshine.
FAQs
Can I install solar mounting brackets myself?
Yes, if you’re using a DIY kit on a shed, RV, or tiny home. For rooftop systems, it’s best to work with a licensed installer to ensure code compliance and safety.
How much do solar mounting brackets cost?
Costs vary by type, but expect:
- $0.08–$0.15 per watt for rail-based systems
- $300–$700 per kW system for full mounting kits (roof or ground)
Are solar panel brackets universal?
Not always. Panel size, roof type, and system design all play a role. Check compatibility with your panel brand and consult your installer.
Do brackets come with solar panels?
Sometimes. Many DIY or all-in-one solar kits include mounting brackets, but often you’ll need to purchase them separately.